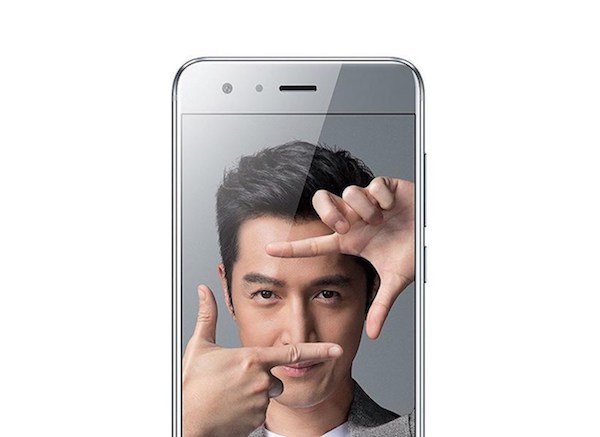
How to Use Your Phone For Your ID Card Program
Taking the Picture
In order to make sure the photo quality is top notch there are four points:
1. Background – The subject’s background is too busy it can distract from the subject. If it is too dark, the whole image can print darker than you wish. Try to aim for a solid color, well-lit background so the focus is on the subject.
2. Lighting – Make sure your subject is well lit. You can spend the time editing the images afterword but taking a better picture will always yield a better result than editing. The benefit of using your phone to take the picture is that it is easy for the subject to give their approval or request another shot.
3. Distance – It is recommended to take the picture within 4 feet of the subject. That may be a little close to the personal bubble and potentially reveal more of the subject’s complexion than desired but have no fear. Minor blemishes won’t show up on the printed card and this will look a lot cleaner than if you took the picture farther away and then zoomed in.
4. Orientation – Take the picture vertically as that is the standard for ID cards.
Bonus – You can always use a tripod to get a more standard and crisp shot if desired.
Importing and Uploading
The following instructions are compatible with most of the ID software. We suggest confirming available functionality.
You will need to import the photos onto your computer and save them in a folder. The file location is important, remember it.
The recommended image size to use for ID card printing is 1MB. Smart phone image sizes are around 3 MB so you will have to open paint or preview or similar program to resize the image.
Next, you will want to import them into your card design software to use in designing your cards. If you are designing one card at a time you can simply go into ID Software and upload the photo. There you will be able to edit the color, crop the size and anything else you need.
If you are using an employee database and want to include the employee photo with the rest of their information you will need to include a field with the file path of the employee’s photo. ID Maker will then be able to grab the photo and print it with the rest of the employee’s information.
You are able to proof and edit every card individually but remember, the better the original picture is, the more time it will save you later.
There. Now you can snap away with your beloved smartphone and make a killer ID card too.
